Automate your workflow with Postman Flows
Postman Flows is a new tool developed by Postman. Basically, Postman Flows is a feature that provides a canvas interface with widgets that you can drag and drop and link together to form a sequence of actions. In the past, if you wanted to create a sequence of Requests with Postman or you wanted to get the value from the Response to pass on to the next Request, you had to know how to use JavaScript and had to code them.
With the advent of Flows, you have a different approach to chaining Requests, acting together, without touching code. Helping some people who are not familiar with the code can still access and use Postman with the need to create a chain of Requests (For example, QA, QC, or Tester.)
Using Flows helps developers and customers to test APIs better and save more time than using Collection. Unlike Collection, Flows allow users to run multiple separate flows at the same time, or be able to connect multiple collections into one flow. They create an open space for collections to interact with each other and build an internal ecosystem within the user.
Where to find Postman Flow
Flow is currently available on both Web or Desktop App versions.
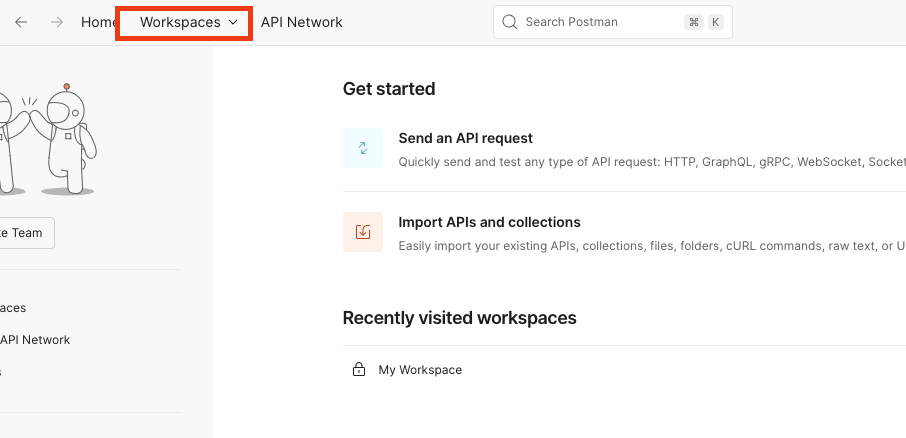
To open the Flows interface and use it, follow these steps:
- On the Postman homepage, select Workspace.
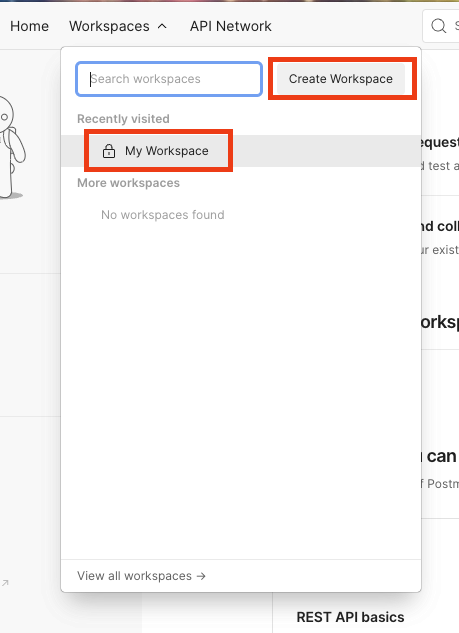
- Select or create a new Workspace where you will use Flows.
- Select Flows on the left horizontal menu.
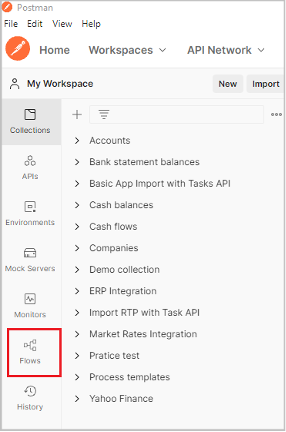
- Select Create Flow to create and open the canvas window to create Flows.

- Canvas interface for creating Flows.
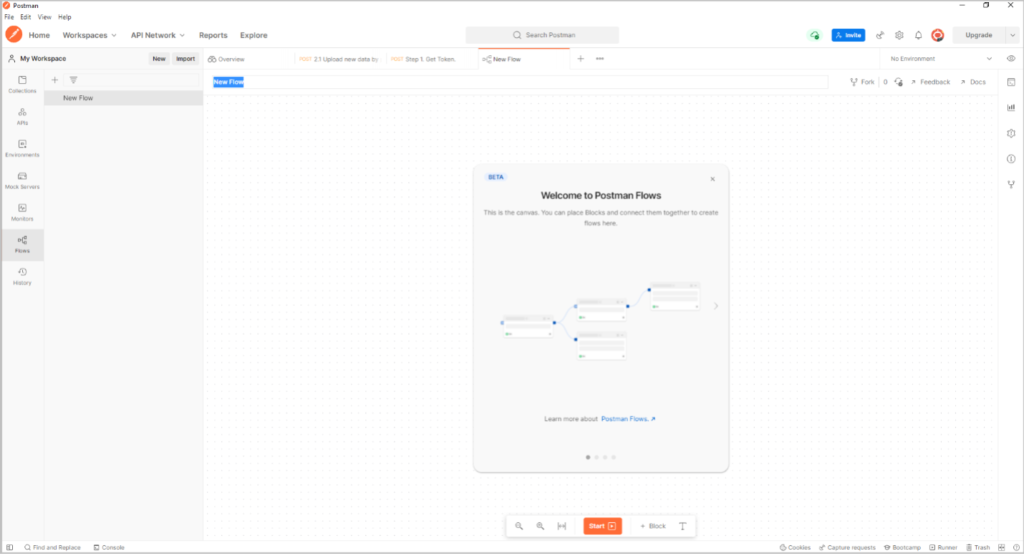
Key Components and Features of Flows
The Postman Flows workspace is organized with a drag-and-drop interface where you’ll build workflows using blocks that represent different actions. The interface includes:
- Blocks: Elements representing requests, conditions, or delays.
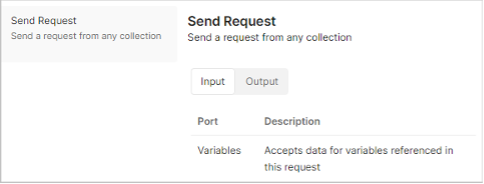
- Send Request: This block adds a request created in the Collection Request, which means that you must create the Request in the Collection to import it into Flows.
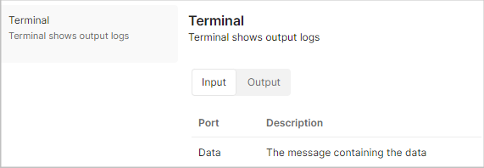
- Terminal: block that supports displaying information.
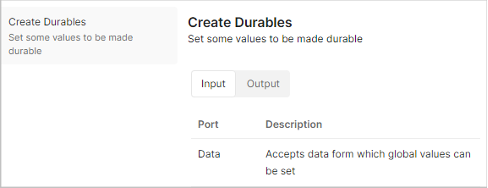
- Create Durables: block supports creating variables and using those variables to share data between Requests.
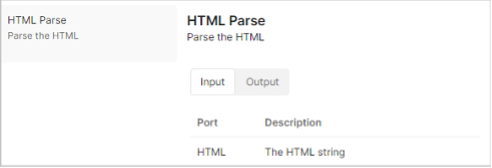
- HTML Parse: block supports parsing JSON output without writing a single line of code.
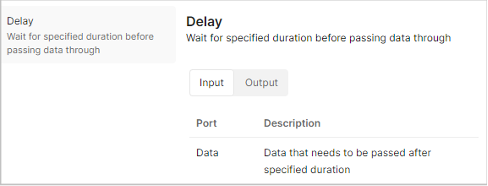
- Delay: This block can be used to add delay between requests. The delay time is specified in milliseconds.
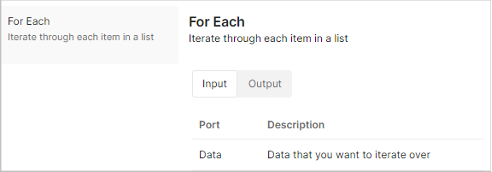
- For Each: instead of trying to figure out how the “for each” statement in JavaScript works, you can just use this block to iterate over each element of your data list.
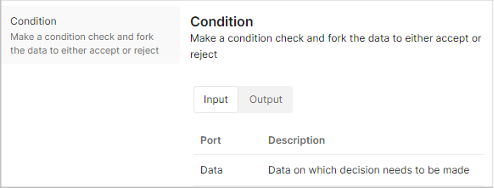
- Condition: create condition for accept/reject output.
- All blocks have the following 4 common nodes:
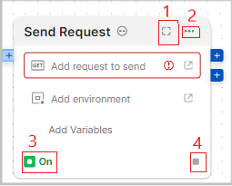
- Opens the Details window, where you can view more detailed information of the block, its input and output parameters, and configuration.
- Opens a selection menu, from which you can choose to see more information about the block, can copy or delete.
- Tells you the block is active but does not carry data. It will turn off when you choose to use button #4 to chain with a new block.
- Support you can chain with a new block without getting data from the chained block.
- Canvas: The space where you place and organize blocks to visualize the workflow.
- Execution Path: Lines connecting blocks to show the order of execution.
- Example
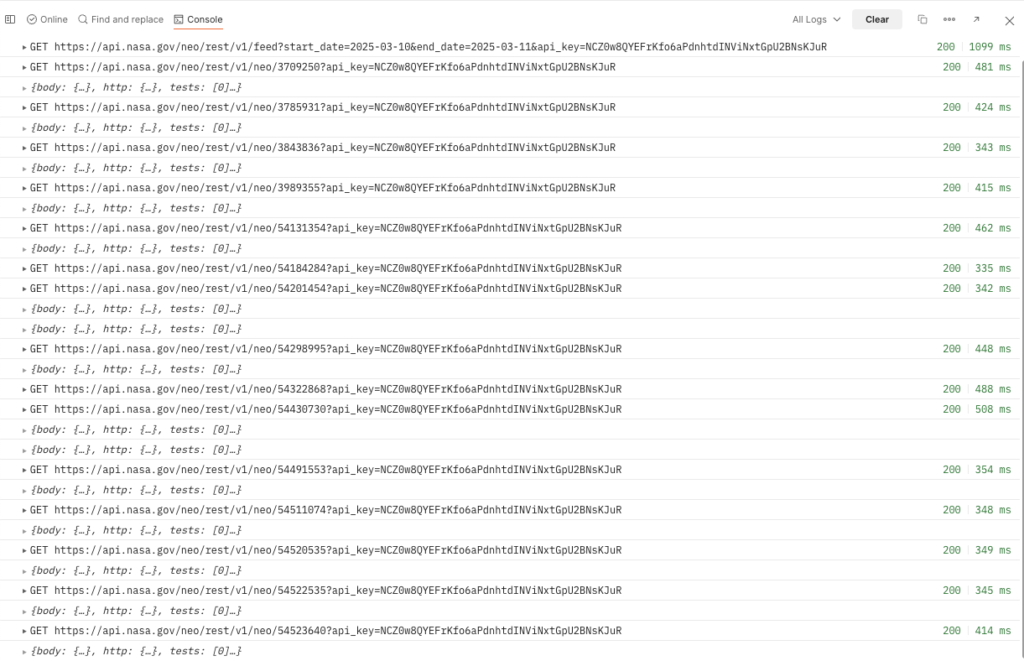
- Testing data pertaining to space using the Near-Earth Object (NEO) API
- The NeoQuery and NeoLookUp requests allow to access and experiment with asteroid and near-earth object data using these endpoints:
- NeoQuery: This endpoint allows you to query a list of near-Earth objects (NEOs) over a specific date range. You can enter the date range as query parameters, and the response will provide information about the NEOs observed within that range. It returns data such as the NEO’s ID, name, estimated size, approach date, and miss distance, which helps analyze trends or events in space.
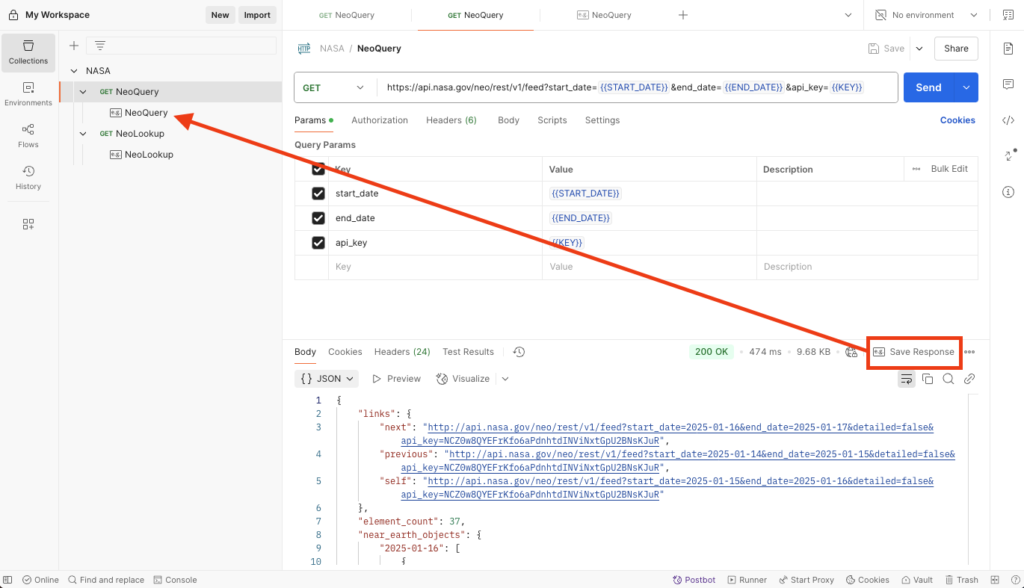
Requests must be saved as Save Responses to be visible in Postman flows.
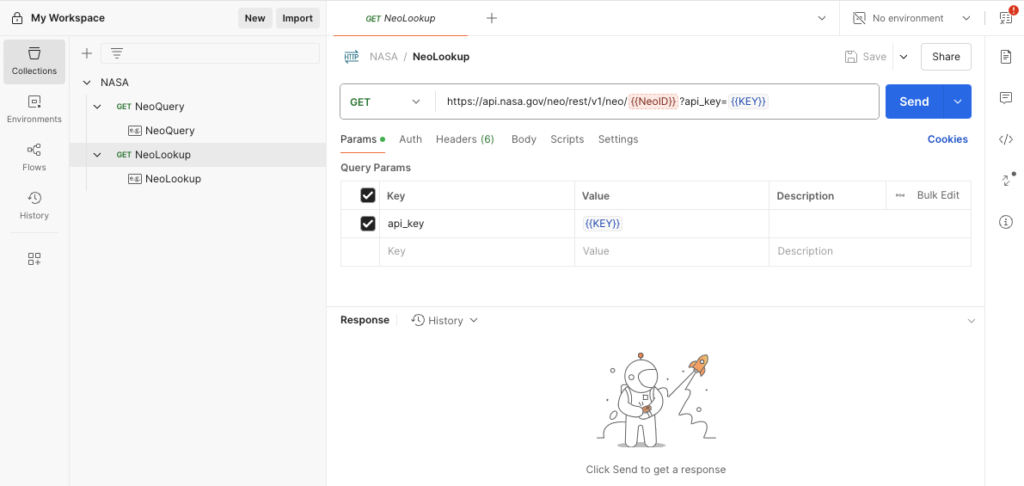
- NeoLookUp: Once you have a specific NEO’s ID, you can use the NeoLookUp request to get more detailed information about it. This includes data such as its orbital parameters, close approach data, and other relevant attributes. This request is useful for drilling down into specific NEOs that may be of particular interest due to their characteristics or proximity to Earth.
Create a flow now.
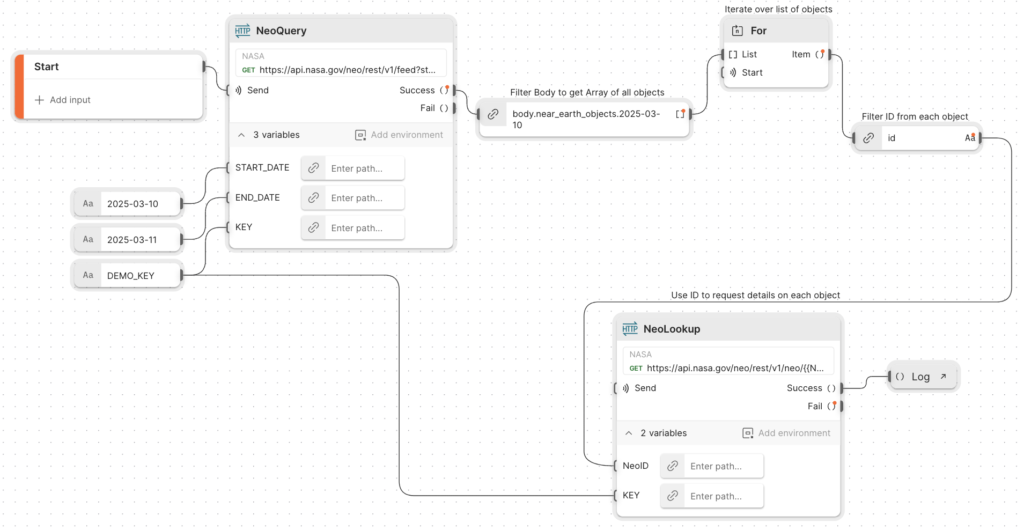
- The flow connects to the Near-Earth Object API.
- It fetches a list of NEOs for a specific date range.
- Extracts relevant fields, such as id, name, or close_approach_date.
- Loops through the list of NEOs to retrieve detailed information about each one using their unique IDs.
- Consolidates detailed NEO information into a formatted output.
- This might be displayed in a dashboard or exported as a JSON response.
Click Run to execute the flow. This will retrieve the NEO data for your date range and then perform individual lookups for each NEO.
When and How to Use Flows
When to Use Flows
- Complex API Sequences: If your API interactions require multiple steps with dependencies, conditions, or data manipulation, Flows provides an efficient, visual way to organize them.
- Data-Driven Scenarios: When testing with different data inputs, Flows simplifies iterating through data while keeping the workflow organized.
- Automated Testing and Monitoring: Flows allow setting up automated tests and processes, making it easier to monitor API endpoints.
How to Use Flows Effectively
- Plan Your Workflow: Outline the logic and sequence of your API calls. Sketching the flow helps you visualize the requirements before building in Postman.
- Use Descriptive Names: Name each block to clarify its function, making the flow easier to understand and debug.
- Test in Phases: Run smaller sections of the flow to ensure each part works before combining them into a full flow.
- Leverage Variables and Conditions: Use environment variables to handle dynamic data across different requests, and conditions to direct the flow based on responses.
- Monitor and Analyze Outputs: Use Postman’s console to log responses and monitor how data is passed across blocks.
Looking to automate your API workflows or integrate Postman Flows into your organization?
Our experts are here to help you plan, implement, and optimize your API processes—tailored to your needs and hands-on.
👉 Get in touch with us!
Relevant posts

Schema-Driven Messaging with Avro: A Practical Guide for Engineers
Message queues and event streams are foundational to modern distributed systems. They decouple producers and consumers, improve resilience, and allow...

Mastering Apache Kafka Monitoring: Key Metrics and Tools for Reliable Platform Performance
Imagine a critical e-commerce platform that relies on Apache Kafka to process orders, track inventory, and manage real-time notifications. Suddenly,...
RabbitMQ 4.1 Performance Enhancements Explained
Navigating through the ever-evolving landscape of message brokers can feel like trekking through a dense jungle, especially when new versions...
Governance Meets AI: How to Stay in Control of Copilot in the Power Platform
Imagine employees creating apps, flows, or reports simply through voice or text prompts. At first glance, this seems like a...
Power Platform vs. classical programming
Advantages and limitations of low-code The development of individual software for mapping business processes has undergone a remarkable transformation in...

Navigation through the Jungle of Event-Based Systems: Choosing the Right Message Broker
Navigating through the dense jungle of event-based systems can be daunting, especially when trying to decide between different message brokers...
You need to load content from reCAPTCHA to submit the form. Please note that doing so will share data with third-party providers.
More Information